How to Remove Mycotoxins: Actionable Tips for a Healthier Home
Mycotoxins are toxic compounds produced by certain molds and fungi that can pose serious health risks. They are notoriously difficult to eliminate once they’ve infiltrated an environment, and addressing them requires a comprehensive approach. Recent advancements in air sampling technology have made it easier to detect mycotoxins, enabling more effective protocols for their removal. One such protocol, developed by Superstratum, combines advanced cleaning solutions and air purification techniques to address both visible mold and the microscopic mycotoxins left behind.
There are 7 steps to remove mold from your home: Initial Testing and Assessment, Content Reduction, Vacuum Every Inch, Three-Step Chemical Process, Chlorine Dioxide (ClO₂) Gas Treatment, Post-Remediation Testing, and Shock Treatment with the Khaos Machine. In this guide, we’ll break down these steps that you can take to eliminate mold and keep it from coming back, so you can breathe easier knowing your home is truly safe.
1. Initial Mycotoxin Testing and Assessment
The first step is to test for mold to determine the severity and extent of the problem. Testing can involve both air and surface sampling to identify types and concentrations of mold spores. This step helps mold remediation professionals plan an appropriate course of action.
It's important to consider that the best way to determine if your home has mold might not be through a test kit, but by paying attention to your own body. Try spending some time away from your home and take note of how you feel. Then, return home and observe any changes in your symptoms. If you notice issues like congestion, coughing, or fatigue that improve while you’re away but return when you’re back, it could be a clear indication of mold in your living environment.
2. Content Reduction
“Content reduction” means removing or reducing items in the affected area to prevent cross-contamination and make the space easier to treat. Here’s how it works:
- Remove Contaminated Items: Heavily mold-infested items, like porous furniture or textiles, are either discarded or thoroughly cleaned.
- Relocate Clean Items: Belongings without mold contamination can be moved to another area to keep them safe.
- Isolate or Cover Necessary Items: Items that must remain in the space should be covered or isolated to prevent contamination during remediation.
Reducing the contents of a room makes it easier to access all areas and provides a clear path to successful mold elimination.
Looking for the best products to remove mold from your home in 2025?
Read now: Best Products to Detox from Mold in 2025
3. Vacuum Every Inch
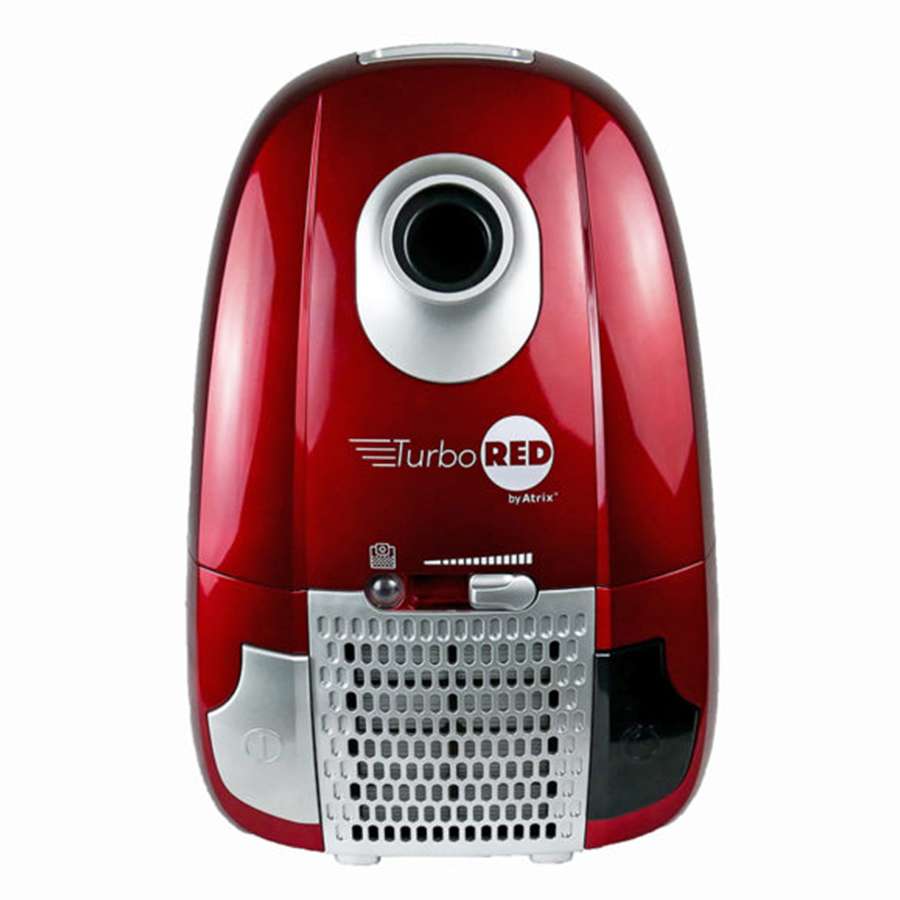
Using a high-efficiency particulate air (HEPA) vacuum, meticulously vacuum every surface in the affected space. This includes walls, ceilings, floors, and any remaining non-porous items. HEPA vacuums trap microscopic mold spores, ensuring they aren’t released back into the air.
4. Three-Step Chemical Process
A chemical treatment is often necessary to kill active mold and prevent its return. This multi-step process is highly effective:
Chemical Step 1 Initial Application
Spray a specialized mold-killing solution onto the affected surfaces. Let it sit for about 15 minutes to ensure it penetrates and effectively kills mold spores.
Chemical Step 2 Wipe Down
Use a microfiber cloth to wipe down the treated surfaces. Microfiber traps mold spores more effectively than traditional cloths and helps prevent the spread of spores.
Chemical Step 3 Chlorine Dioxide
Apply Chlorine Dioxide Gas Treatment
- ClO₂ gas is a powerful and safe option for eliminating mold spores from a space. Chlorine dioxide acts as an oxidizer, breaking down mold at a molecular level without harmful residue. Here’s how it works:
- Gas Application: ClO₂ gas is carefully released into the affected area, filling every space to reach hidden mold in cracks and crevices.
- Reaction Time: After the ClO₂ is applied, it’s left to react with the mold, neutralizing it effectively.
- Ventilation: Once the treatment is complete, the area is ventilated to clear out the gas and make the space safe for re-entry.
IMPORTANT: Wear a mask when dealing with chemicals.
5. Post-Remediation Testing
After the remediation process, retesting is essential to ensure that mold levels are back to safe standards. Testing will confirm that the remediation was successful and that no mold spores remain.

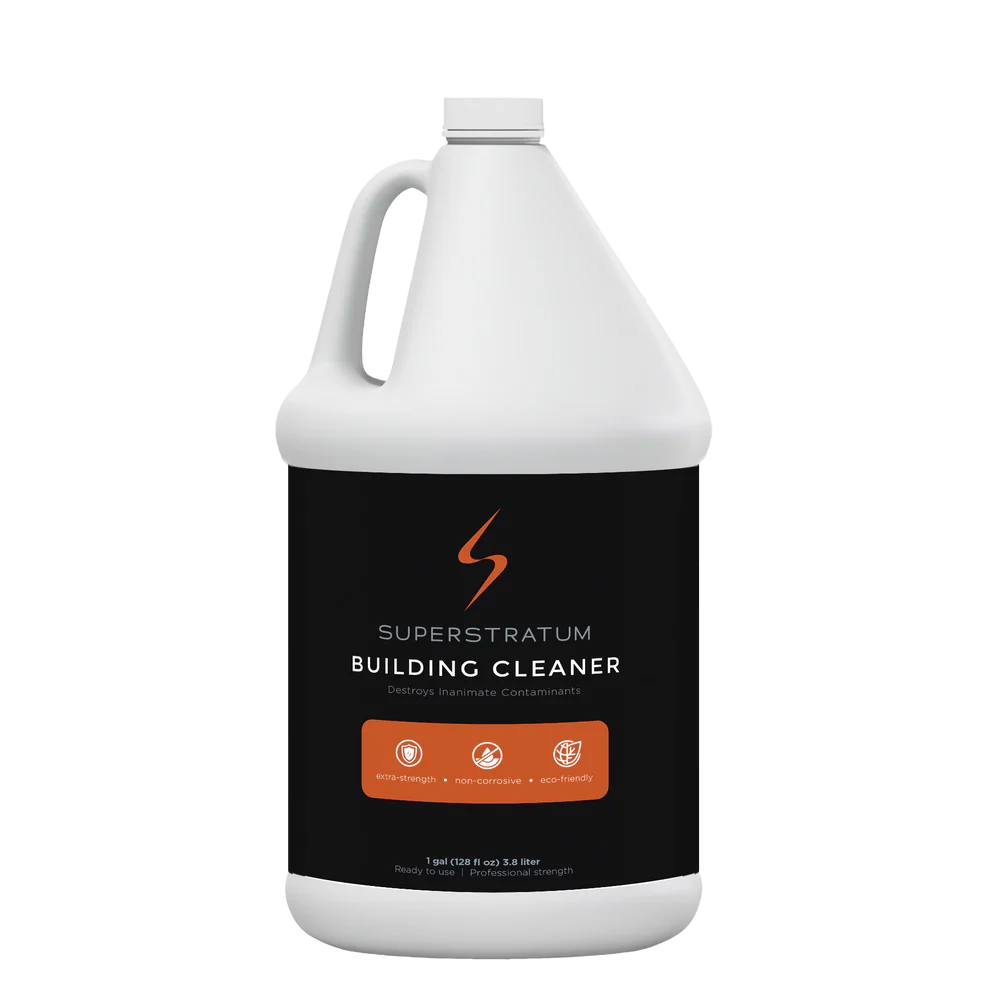
6. Building Cleaner
All steps have been done, spray the surfaces with an affective endurance cleaner. This step helps ensure all mold is eradicated and that no spores are left behind.
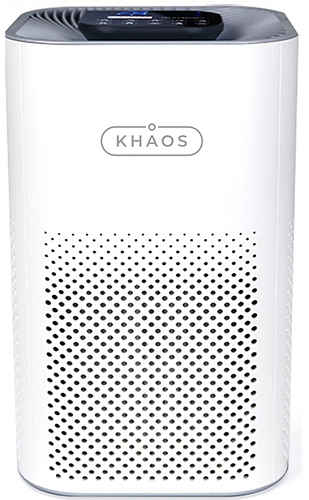
7. Every Day Maintenance with the Khaos Machine and Endurance Cleaner
For extensive mold contamination, a shock treatment using specialized equipment (often called a "Khaos Machine") can be highly effective. This machine disperses a high concentration of cleaning agents or antimicrobial solutions into the air, penetrating every corner of the affected area to kill any lingering mold spores.
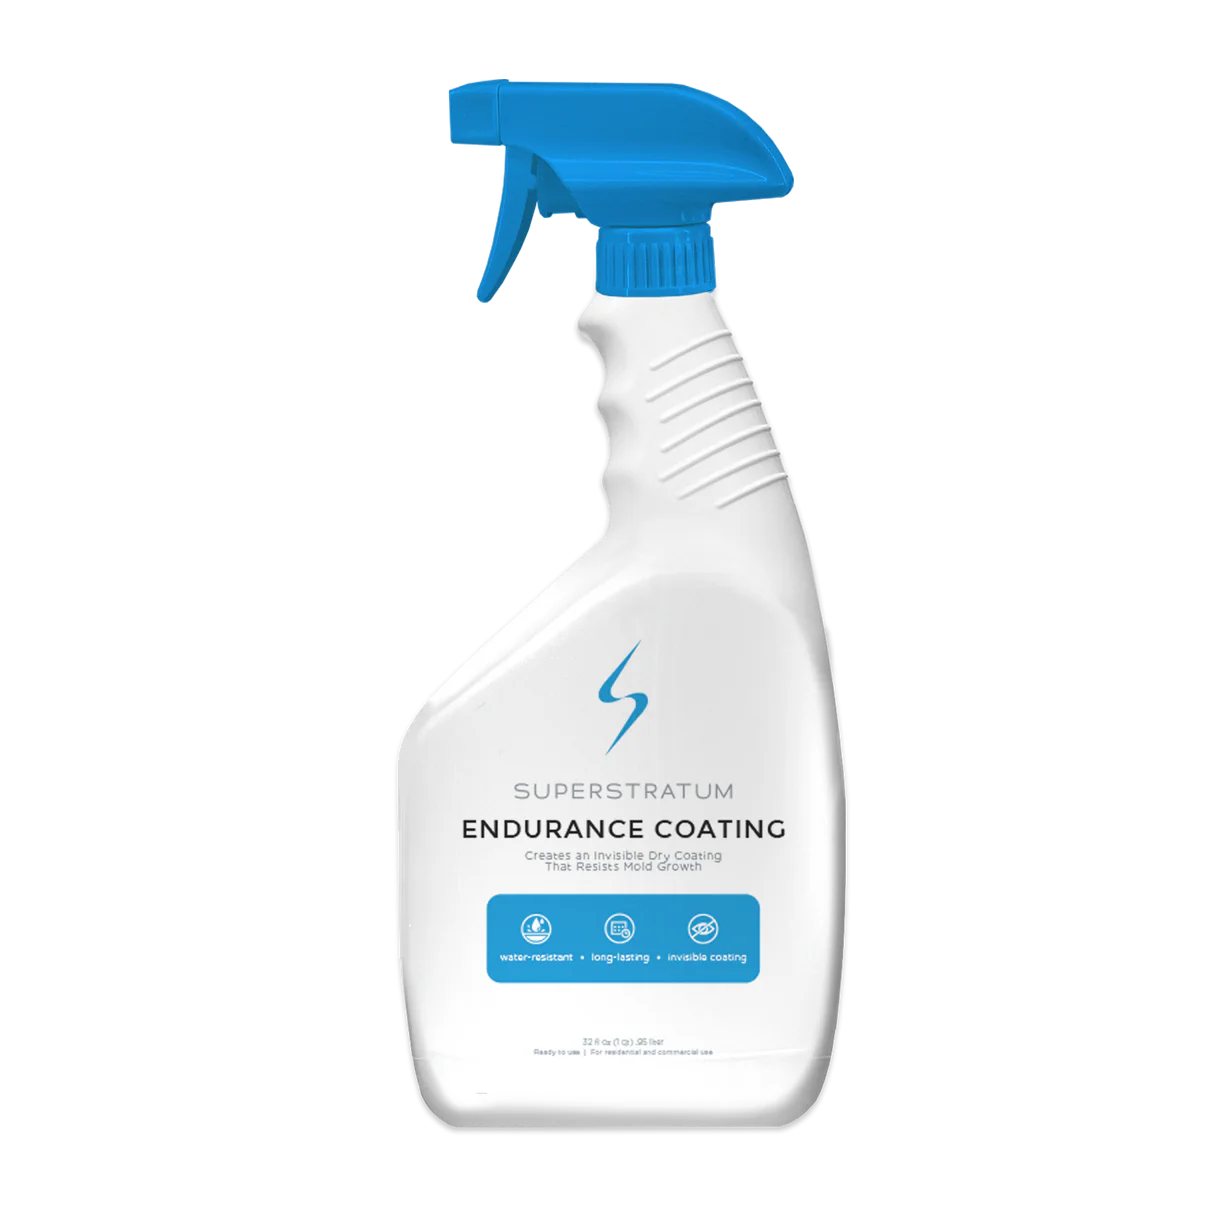
Everyday Cleaner & Endurance Coating 32 oz. COMBO PACK
Click the link below to learn more
By following these steps, you can effectively eliminate mold in your home and keep your living environment safe and healthy. Mold remediation may require professional help, especially if it’s a severe infestation. With the right tools and techniques, you can keep your home free of mold and enjoy cleaner air and a healthier space.